
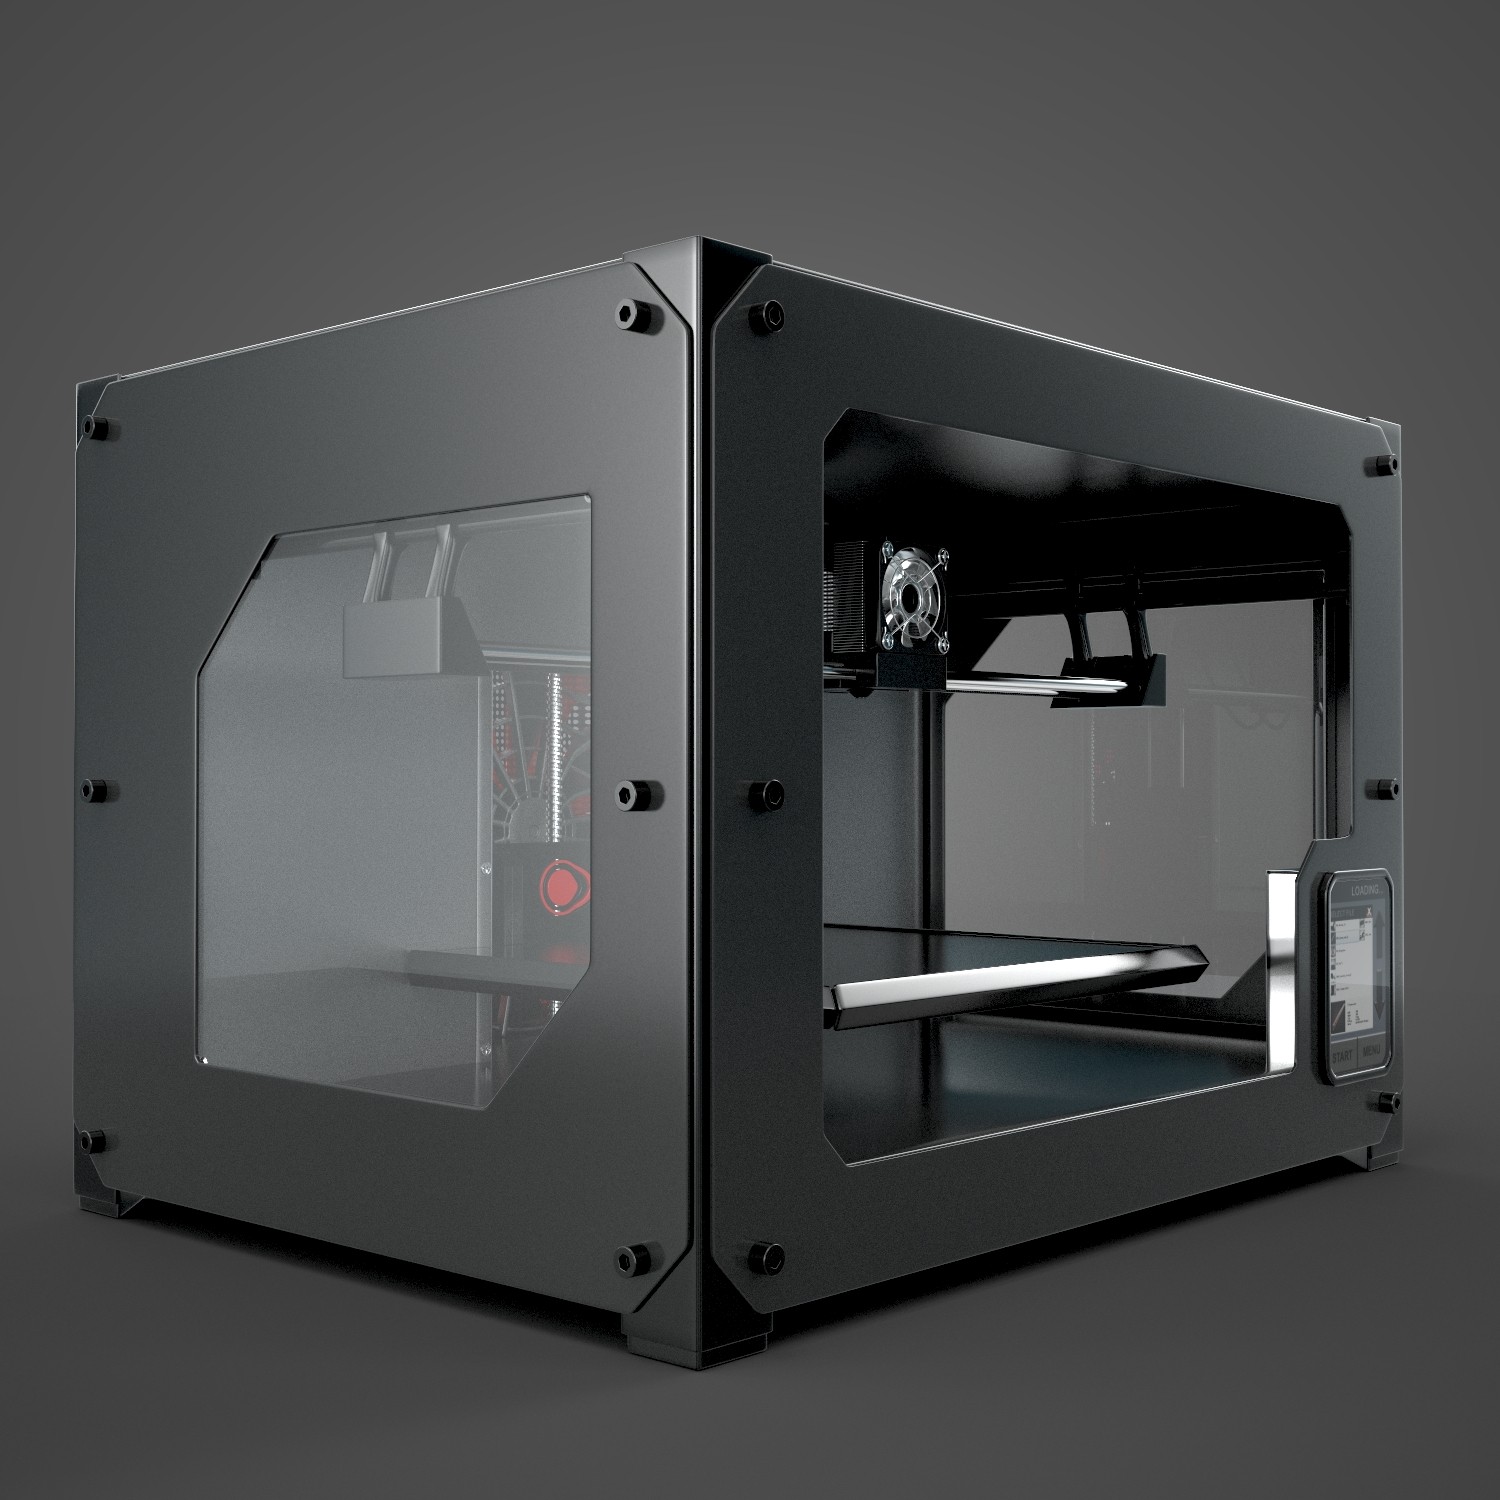
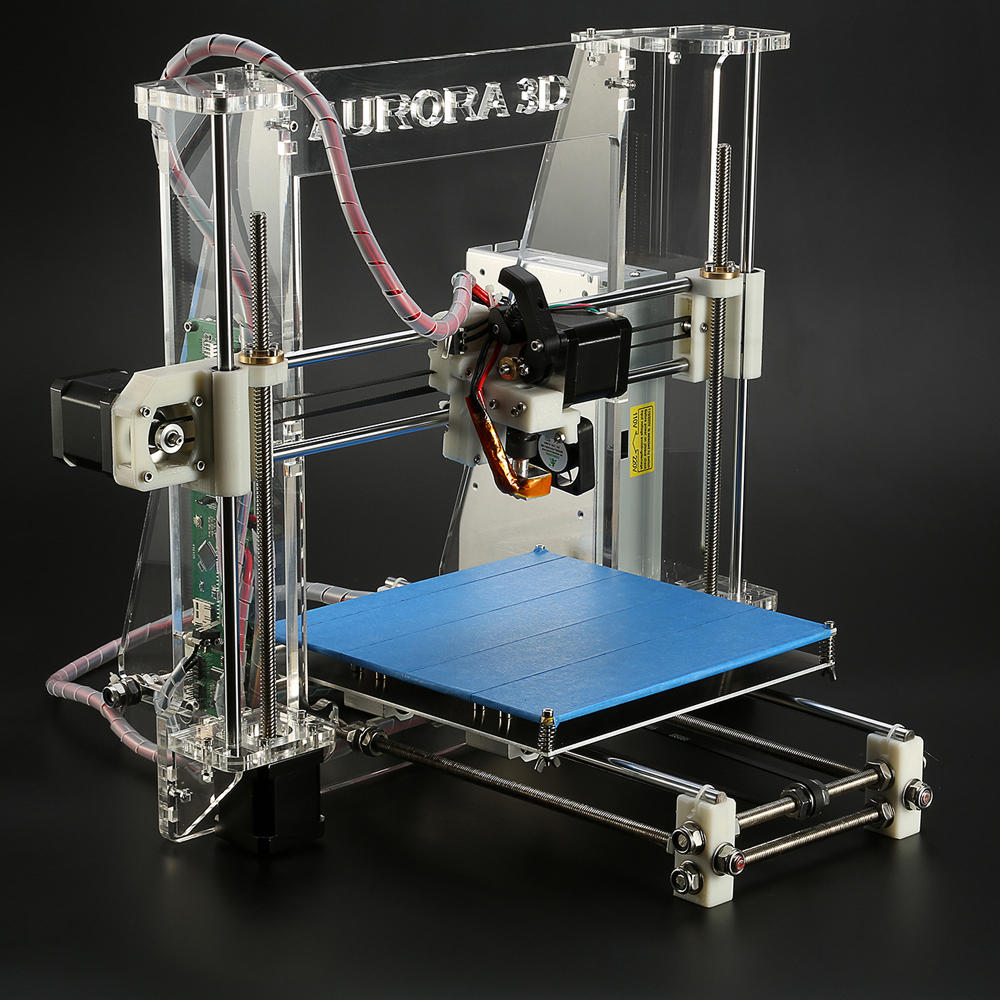
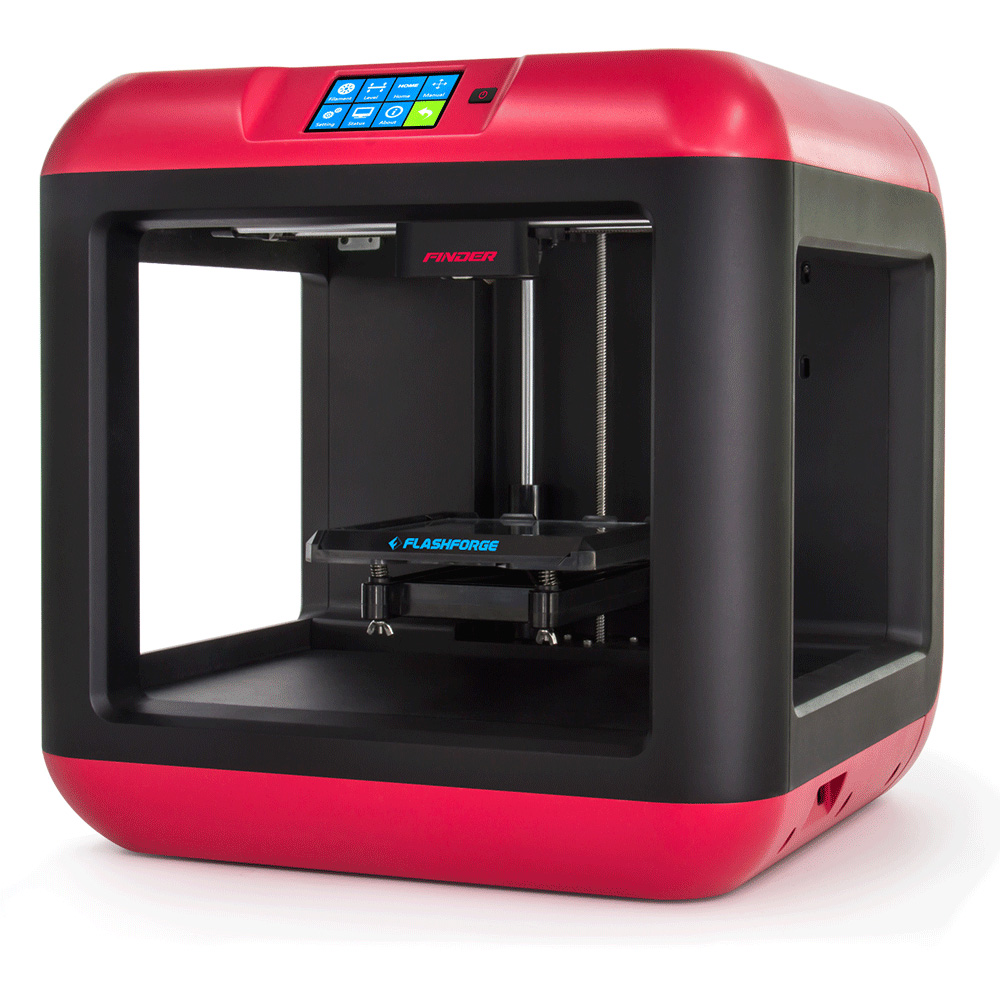
3D printer calibration is an essential process that ensures your prints come out accurately and at the highest quality possible. Whether you are a hobbyist, a designer, or a business professional, proper calibration can dramatically enhance the performance and longevity of your 3D printer. With the right calibration techniques, you can minimize errors, save time, and reduce material waste. This article will provide a comprehensive guide to 3D printer calibration, outlining the steps you need to take for successful results.
Understanding the Importance of Calibration
Why Calibration Matters
Calibration is vital for several reasons. First and foremost, it enhances print quality. Improperly calibrated printers may lead to issues like layer misalignment, stringing, or warping. Secondly, proper calibration can optimize filament usage and reduce waste. When your printer is calibrated correctly, it uses the exact amount of material needed for a precise print. Finally, regular calibration prolongs the life of your printer. By ensuring all components function correctly, you can prevent mechanical wear and tear.
Types of Calibration
Before commencing with the calibration process, it’s essential to understand the different types of 3D printer calibration:
- Axis Calibration: Adjusting the X, Y, and Z axes to ensure movements are accurate.
- Extruder Calibration: Ensuring the printer extrudes the correct amount of filament.
- Bed Leveling: Adjusting the print bed to ensure a level surface for adhesion.
- Flow Rate Calibration: Setting the correct flow rate for filament extrusion.
Getting Started with Calibration
Preparing Your Printer
Before diving into the calibration process, ensure that your 3D printer is in good condition. Clean any debris or filament remnants from the nozzle, check the belts for tightness, and ensure that the print bed is free from dust and residue.
Tools and Materials Needed
Depending on your printer setup, gather the following tools and materials:
- Calipers or a ruler for measuring
- A piece of paper (for bed leveling)
- A test print file (such as a cube or calibration shape)
- Slicing software to adjust settings
- Filament appropriate for your printer (PLA, ABS, PETG, etc.)
Step-by-Step Calibration Process
1. Axis Calibration
Understanding Movement Mechanics
Every 3D printer uses a specific coordinate system to interpret movement commands. Calibration ensures that when a command is given, the printer executes it accurately.
How to Calibrate the Axes
- Home All Axes: Use your printer’s control panel to bring all axes to their home position (usually the front left corner).
- Measure the Distance: Move the printer along one axis (X, Y, or Z) by a known distance, such as 100 mm.
- Check the Actual Movement: Measure the distance the printer moved with calipers. If it moved 95 mm instead of 100 mm, you’d need to adjust the steps per millimeter.
- Adjust Steps per Millimeter: Use the firmware settings to adjust the steps per mm in your firmware configuration.
2. Extruder Calibration
Why Achieving Correct Extrusion is Crucial
Extruder calibration ensures your printer delivers the right amount of filament during printing. Too little can cause gaps in layers, while too much can lead to oozing and print defects.
Calibration Steps
- Measure the Filament: Mark 120 mm on your filament and feed it into the extruder.
- Extrude the Filament: Using your printer’s commands, extrude 100 mm of filament.
- Measure Again: Check the remaining length of filament. If it’s less than 20 mm, the extruder is over-extruding; if it’s more, it’s under-extruding.
- Calculate and Adjust: Use the formula to adjust the extruder steps per mm settings in your firmware. This is often done via the M92 command in Marlin firmware.
3. Bed Leveling
The Importance of a Level Bed
A properly leveled print bed ensures that the first layer adheres well, which is crucial for print success. An uneven bed can cause issues ranging from poor adhesion to print warping.
Paper Method for Bed Leveling
- Home the Printer: Bring all axes to their home position.
- Place a Piece of Paper: Place a standard piece of printer paper on the bed.
- Adjust the Nozzle Height: Move the nozzle close to the paper until you feel slight resistance when sliding it beneath the nozzle; this indicates the correct height.
- Repeat for All Corners: Move to each corner of the bed and the center, adjusting the knobs or screws until all measurements feel consistent with the same resistance.
4. Flow Rate Calibration
Why Flow Rate Matters
Flow rate affects the amount of filament being extruded. Calibration ensures that the material flows smoothly, creating well-defined layers.
Steps for Flow Rate Calibration
- Conduct a Test Print: Begin by printing a simple calibration cube.
- Measure Wall Thickness: Once printed, measure the wall thickness of your cube using calipers.
- Calculate Adjustments: If the wall thickness is thinner than expected, use the formula: (Expected Wall Thickness / Measured Wall Thickness) x Current Flow Rate to calculate the new flow rate.
- Update Firmware: Adjust the flow rate in your firmware settings and test print again.
Advanced Calibration Techniques
Using Calibration Prints
To achieve the best calibration results, consider printing calibration models. Objects such as single-wall cubes, temperature towers, and benchy boats can help you assess specific calibration issues in greater detail.
Temperature Towers
Temperature towers allow you to determine the ideal printing temperature for your filament. Each section of the tower prints at a different temperature, helping you identify the best setting for your specific material.
Retraction Settings
Fine-tuning retraction settings is crucial for reducing stringing in your prints. Start with the recommended settings for your filament and adjust based on print results, keeping an eye on whether you need to increase or decrease the distance and speed.
Maintenance for Ongoing Calibration
Regular Checks
Regular maintenance checks are essential for sustaining optimal performance. Take the time to inspect your printer, tighten any loose components, and ensure the print surface is clean.
Software Updates
Keep your firmware and software up-to-date. New updates may provide improved features for calibration and print quality.
Troubleshooting Common Calibration Issues
Inconsistent Layer Height
Inconsistent layer height may indicate issues with bed leveling or extrusion. Remeasure both and verify that your extruder is calibrated correctly.
Warp and Curl
Warping can occur due to improper temperature settings or poor adhesion. Be sure your bed is leveled and consider using additional adhesion methods like glue sticks or painter’s tape.
Poor First Layer Adhesion
If your prints are coming loose, ensure that your print bed is clean and properly leveled. You may also need to adjust the nozzle height and extrusion temperature.
 Recap: The Lifecycle of Calibration
3D printer calibration is not a one-time task; it requires continuous monitoring and adjustment. Conduct routine checks and adjustments to adapt to new materials and changes in performance.
Professional Help
1. Local Maker Spaces and Fab Labs
- Many cities have maker spaces or fabrication labs where you can get hands-on help from experienced individuals. They often have workshops or classes specifically on 3D printer calibration.
2. Online Communities and Forums
- Websites like Reddit (subreddits like r/3Dprinting) and dedicated 3D printing forums are great places to ask for advice. Many experts in the community may be willing to provide guidance or even remote assistance.
3. Professional Services
- Some companies and freelancers offer 3D printer calibration services. You can search platforms like Upwork or Fiverr for experts who specialize in this area.
4. Manufacturer Support
- If your printer is from a well-known manufacturer, they may offer professional support services. Check their website for customer service or technical support options.
Conclusion
In conclusion, 3D printer calibration is a fundamental aspect of the 3D printing process. Whether you’re looking to improve print quality, minimize material waste, or prolong your printer’s life, following a detailed calibration process is critical. By understanding the various forms of calibration—whether it be axis, extruder, bed leveling, or flow rate—you can ensure that your 3D printer produces exceptional results consistently. Make calibration a regular part of your printing routine, and you’ll enjoy higher-quality prints and an altogether more pleasant 3D printing experience. Proper 3D printer calibration is the key to unlocking your device’s full potential and achieving remarkable results in all your projects.