Introduction to Fridge Water Dispenser Maintenance
Maintaining your fridge’s water dispenser is crucial for fresh-tasting water. Regular cleaning prevents buildup of minerals and mildew. It extends the appliance’s life and ensures it operates efficiently. Start with simple steps to maintain and clean the system. This guide will walk you through the process, ensuring you always have clean, fresh water from your fridge.

Preparing to Clean Your Water Dispenser
Before you start cleaning, initial preparation is key.
Step 1: Turn Off the Ice Maker
First, ensure your ice maker is off. This can usually be done with a simple switch or a button.
Step 2: Remove and Clean the Ice Bin
Next, take out the ice bin. Dispose of old ice and rinse the bin with warm, soapy water.
Deep Cleaning the Freezer Interior
After ensuring that the ice maker is off and the ice bin is removed, it’s time for a deep clean.
Step 3: Wipe Down Internal Surfaces
Begin by wiping down the internal surfaces of the freezer where the ice accumulates. Use a clean rag or sponge for this task. A mix of white vinegar and water is effective for cleaning and neutralizing odors. Apply this solution generously to the freezer’s interior, focusing on any spots with visible grime. Rinse the rag and repeat as necessary until all surfaces are spotless. For tough stains or residues, a half-cup of bleach in one gallon of water can be used instead. Remember to rinse surfaces thoroughly if bleach is used to prevent any lingering smell. If your ice bin is dishwasher safe, consider running it through a cycle for an effortless deep clean. If hand-washing is necessary, use warm soapy water and be sure to rinse it well. This way, you’re assured that the next batch of ice is as fresh and clean as possible.
Tackling the Water Supply Line
To ensure clean water from your fridge dispenser, a clean water supply line is crucial. Let’s tackle this step by step.
Step 4: Disconnect and Flush the Water Supply Tube
Firstly, turn off the water valve. This halts water flow into your fridge. Find the copper tube behind or inside the door and disconnect it. Have a bucket ready to catch any spilled water.
Once disconnected, flush the line using a cleaning solution, ideally white vinegar. Pour it into the tube using a funnel and let it sit for a few minutes. This will help in dissolving any mineral build-up inside. After soaking, elevate the tube to let the vinegar run through to the reservoir. Be sure to support the tube to prevent spills.
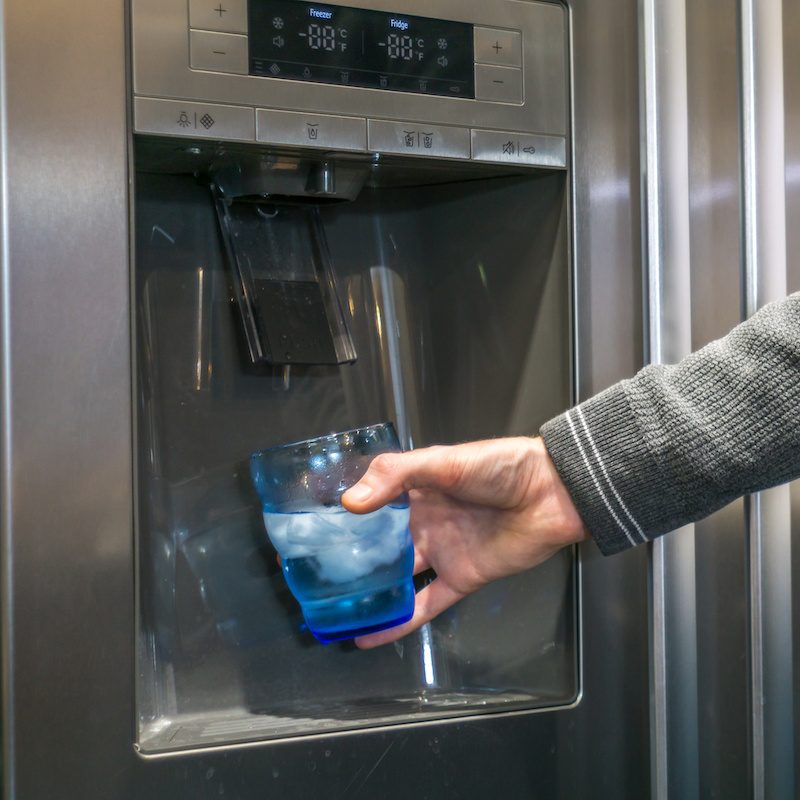
Lastly, place a cup under the water dispenser and engage it to flush out the vinegar. Do this several times until the smell of vinegar is gone. This step is essential for fresh-tasting water and clear ice cubes from your refrigerator water dispenser.
 Sanitizing the Water Dispenser System
Ensuring your water dispenser is not just clean, but sanitized, is critical for health and taste.
Step 5: Flush the Dispenser with Vinegar
Vinegar is a natural and effective sanitizer. Fill a funnel with white vinegar and pour into the supply tube. This helps kill germs. Let the vinegar sit for five to ten minutes. Afterwards, flush it through by activating the dispenser. Clear out all the vinegar by running the dispenser several times.
Step 6: Clean the Dispenser Nozzle
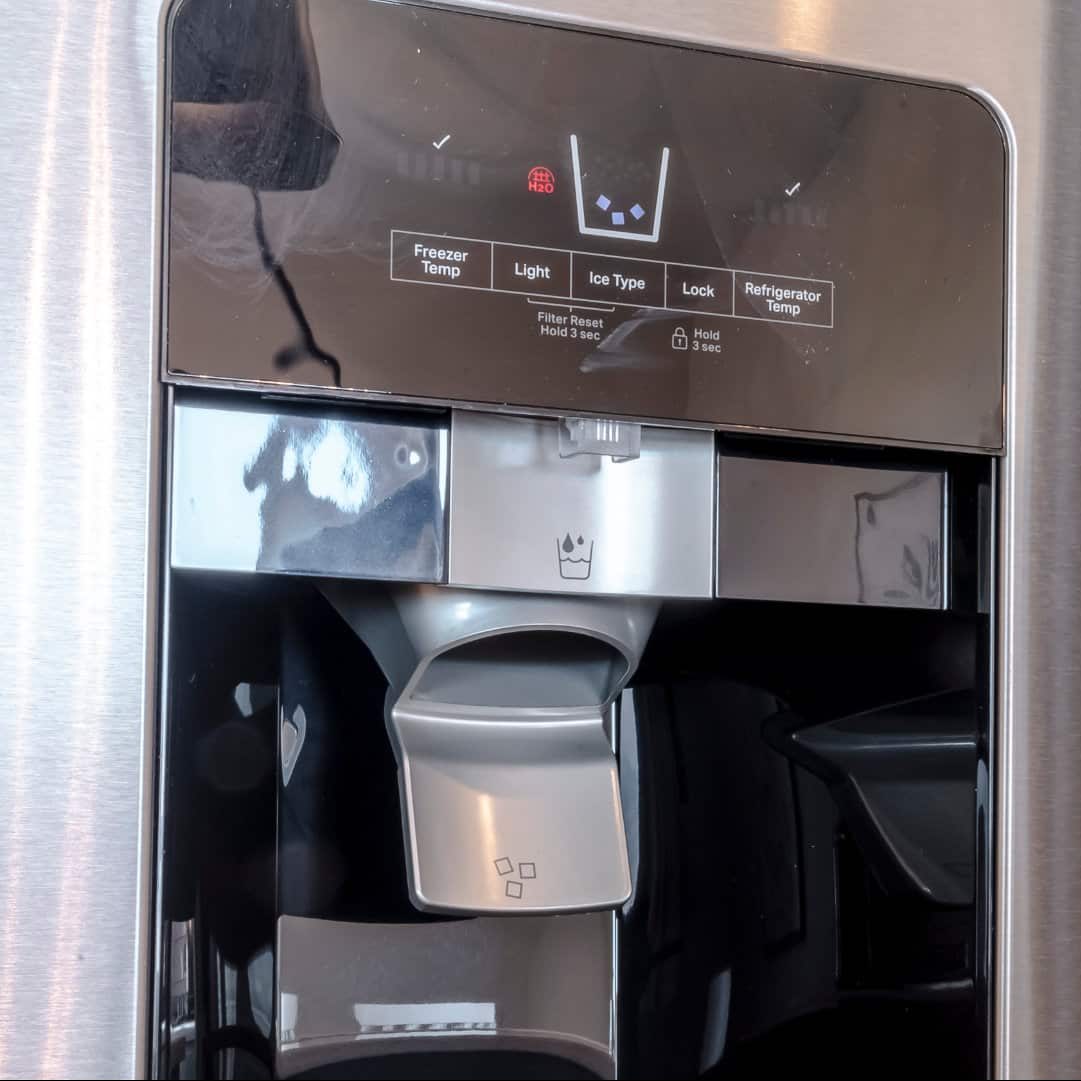
The nozzle can harbor minerals and mold. Use a small brush to scrub inside the nozzle. Dampen it with vinegar to remove the buildup. A thorough scrub ensures your dispenser remains free of contaminants.
Reassembling and Restoring the Water Dispenser
After the cleaning and sanitization steps, it’s time to put everything back together.
Step 7: Reconnect the Water Supply
Ensure the vinegar scent is gone before reconnecting the water supply. Attach the copper tube firmly to avoid leaks. Turn the water valve back on to resume flow to the dispenser.
Step 8: Replace Ice Maker Filter Inserts
If your fridge uses a water filter for the ice maker, now is the time to replace it. Find the correct filter type for your model. Secure the new filter in place as directed in your appliance’s manual.
Step 9: Turn on the Ice Maker and Replace Ice Bin
Finally, turn on the ice maker and slide the clean ice bin back into the freezer. Give it time, usually a few hours, until you have fresh ice. Taste the water to ensure it’s clean and fresh.
By meticulously following the steps to clean and maintain your refrigerator’s water dispenser, you can enjoy pure and refreshing water every time. Not to mention, you’ll extend the lifespan of your appliance with these simple but vital maintenance routines.
Preventative Maintenance for Longevity
To ensure your refrigerator water dispenser remains in optimal condition, regular preventative maintenance is essential. This doesn’t just help maintain the quality of water and ice, but it also prolongs the lifespan of your appliance. Here are some key practices you should incorporate:
- Regular Filter Changes: It’s vital to replace the water filters as recommended by your fridge’s manufacturer. Typically, this should be done every six months. Regular changes prevent clogs and keep the water tasting fresh.
- Inspect for Leaks Regularly: Check the connections at the water supply line periodically for any signs of leaks. Catching and addressing leaks early can prevent larger issues down the line.
- Keep the Dispensing Area Clean: Wipe down the external parts of your water dispenser regularly. This includes the dispensing area and the drip tray, which can accumulate dirt and grime.
- Schedule Professional Servicing: Even with regular personal maintenance, having your fridge checked by a professional every couple of years can help catch issues that aren’t obvious to the untrained eye.
- Monitor Performance Changes: Pay attention to changes in the performance of your refrigerator’s water system. Decreases in water flow or changes in taste can indicate a need for maintenance.
By integrating these steps into your routine, you ensure that your refrigerator’s water dispenser performs efficiently and continues to provide safe, clean water.
 Wrap-Up and Ensuring Fresh Tasting Water
Wrapping up our guide on how to clean refrigerator water dispenser, it’s clear that steps taken regularly can lead to fresher tasting water. Let’s revisit the key takeaways to ensure you don’t miss out on pure, refreshing water every time you use your fridge’s dispenser.
Follow the cleaning steps closely – Stick to the outlined steps, from turning off the ice maker to flushing the dispenser with vinegar. This sequence ensures every part of your water system gets the necessary attention.
Replace filters as needed – Keep an eye on the water filters and change them regularly, as per the manufacturer’s guidelines. This is usually every six months to avoid clogs and maintain water quality.
Check for leaks – Inspect the water supply lines for signs of leakage. Immediate fixing of leaks can save from future hassles.
Keep it clean – Regularly wipe down the exterior dispenser parts, like the tray and spouts, to prevent the buildup of dirt.
Seek professional help when needed – A professional technician can spot issues that aren’t visible to you and ensure your appliance stays in top shape.
Monitor your dispenser’s performance – Be on alert for any changes in taste or water flow, as these can signal a need for maintenance.
By committing to these practices, you can enjoy clean and crisp water from your refrigerator water dispenser, while also prolonging the life of your appliance. Remember, the taste of your water and ice can be a direct reflection of the care you put into maintaining the dispenser system. Clean it often, and the difference will surely be noticeable.
