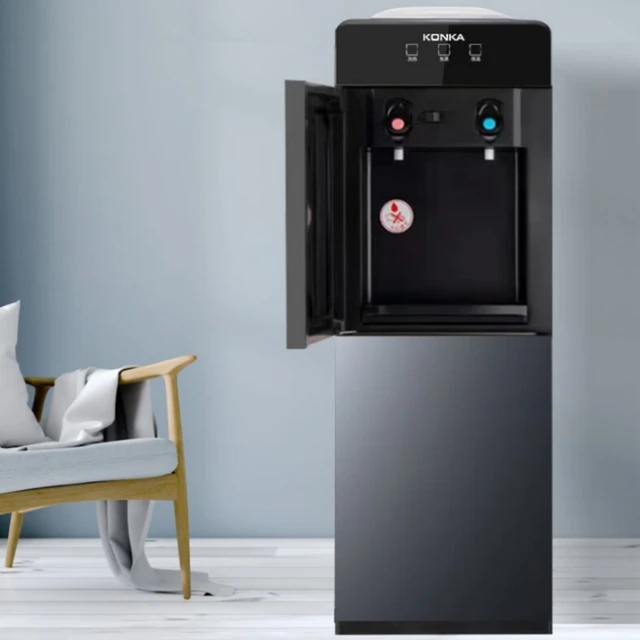
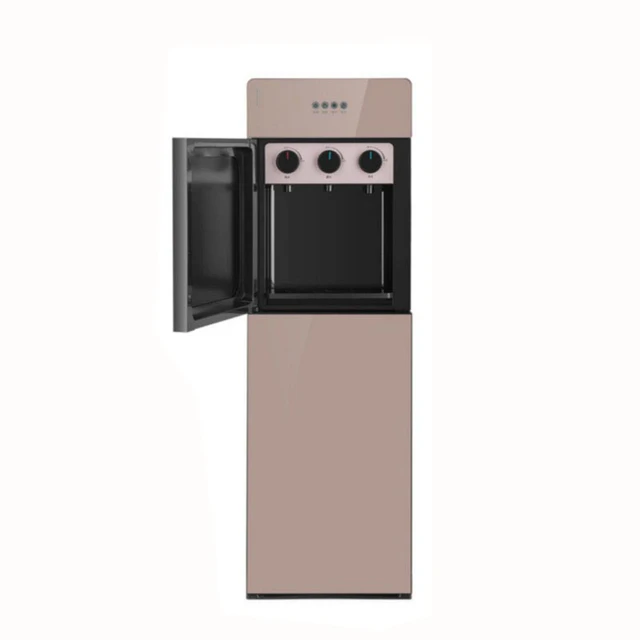
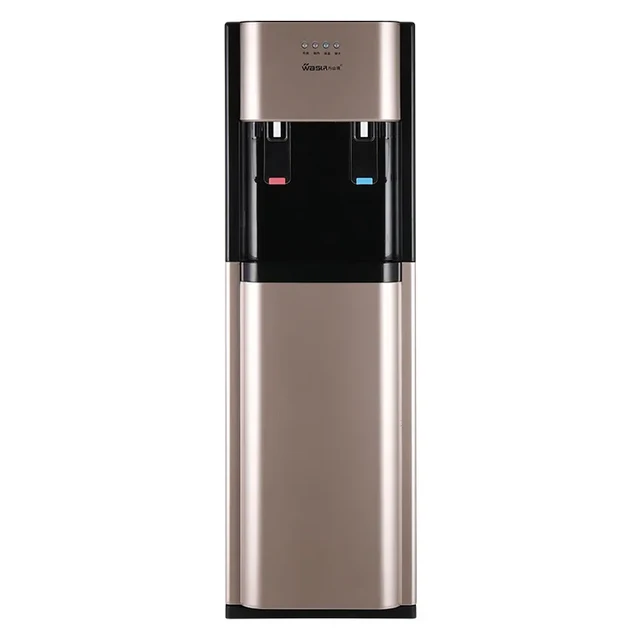
Introduction to Water Dispenser Maintenance
Maintaining a water dispenser is crucial for its efficiency and hygiene. Cleaning your water dispenser can ensure your dispenser functions properly and provides clean, safe drinking water.
Importance of Regular Cleaning
Regular cleaning of your water dispenser is essential. It prevents the buildup of harmful bacteria and mold, which can compromise water quality. Additionally, clean dispensers operate more efficiently, ensuring that good performance and longevity.
Preparing to Clean Your Water Dispenser
Before you start cleaning your water dispenser, it’s important to take the right safety measures and gather the necessary supplies. Proper preparation makes the cleaning process smoother and safer.
Safety Precautions
Safety is key before starting the cleaning process. Here are the steps you should follow:
- Unplug the dispenser from the power source to avoid any electrical hazard.
- Remove any bottles or water from the dispenser to prevent spills.
- Wear gloves to protect your hands from cleaning solutions.
Gathering Necessary Cleaning Supplies
To clean your water dispenser effectively, you’ll need a few supplies. Make sure you have everything on hand:
- Unscented bleach or vinegar for sanitizing.
- Warm water to mix with bleach or vinegar for the cleaning solution.
- A clean, long-handled scrub brush for reaching inside the reservoir.
- Soft-bristled brushes for cleaning nooks and crannies.
- A basin or bucket to catch water when draining the dispenser.
- Clean cloths or sponges for wiping down surfaces.
- Safety glasses, if using bleach, to protect your eyes.
Gather these supplies and follow the step-by-step cleaning guide to ensure your water dispenser is clean and safe for use.
Step-by-Step Cleaning Process
Draining and Disassembling
Begin the cleaning process by unplugging your water dispenser. Remove the water bottle and drain any remaining water. If applicable, disassemble parts like the drip tray, nozzle, or water guard to better access internal components.
Cleaning Internal Components
For internal cleaning, mix warm water with a small amount of unscented bleach or vinegar. Use this solution to thoroughly scrub the inside of the reservoir. Use a soft-bristled brush for hard-to-reach areas. Make sure you rinse well with clean water to remove any residue of the cleaning solution.
Handling Removable Parts
Soak the removable parts such as the drip tray and nozzles in a mild soap and warm water solution. Scrub them with a soft brush to remove residues and buildup. Rinse each part thoroughly and allow them to dry completely before reassembling the dispenser.
Sanitizing Your Water Dispenser
After cleaning the water dispenser’s parts, sanitizing is the next critical step. This ensures that all bacteria and pathogens are destroyed.
Mixing and Applying Sanitizing Solutions
- Prepare the Sanitizer: Mix one gallon of clean water with one tablespoon of unscented bleach. This makes a strong sanitizing solution.
- Apply the Solution: Pour the mixture into the water dispenser’s reservoir. Make sure the solution reaches all parts.
- Let It Sit: Allow the sanitizer to sit for at least five minutes. This gives it time to work effectively.
- Drain Thoroughly: After letting it sit, drain the solution completely from the dispenser. This includes all hoses and taps.
- Rinse Well: Rinse the system several times with clean water. This ensures no bleach remains.
- Dry the Parts: Allow the dispenser and all parts to air dry. This is important before reassembling.
By following these steps and using the right amounts of bleach and water, you successfully sanitize your water dispenser. Regular sanitization, along with cleaning, maintains the quality of your drinking water.
Reassembling and Testing the Dispenser
Ensuring Proper Assembly
Once all the parts are clean and dry, it’s time to put your water dispenser back together. Make sure every part fits rightly. Check the user manual if you’re unsure about where each piece goes. Proper assembly is key to avoid future leaks or malfunctions. Ensure the drip tray, nozzles, and water guard snap back securely. Don’t force any parts; they should fit smoothly into their designed spots.
Functionality Check and Leak Testing
After reassembling, the next step is to test the dispenser’s functionality. Start by slowly turning on the water supply. Be watchful for any drips or leaks at the connections. If you find a leak, turn off the water. Tighten the necessary parts and check again. Once you’re sure there are no leaks, fill the reservoir. Let the dispenser run a few minutes. Look for consistent water flow and listen for strange noises which can indicate an issue. Dispense a few glasses of water. This helps to remove any air trapped in the lines.
Finalizing the cleaning process by reassembling and thoroughly testing ensures a properly functioning dispenser. Now you can enjoy clean, refreshing water with confidence in the safety and hygiene of your dispenser.
Maintaining Your Water Dispenser for Longevity
Proper maintenance extends your water dispenser’s life. Stick to a regular cleaning routine for best results.
Routine Cleaning Schedule
Set a reminder to clean your dispenser every time you change the water bottle. Regular cleaning keeps bacteria and mold away. Use the right supplies for safe and effective cleaning.
After every clean, dry the parts well before reassembling. This prevents moisture buildup that can lead to mold.
Addressing Common Maintenance Issues
Regular checks can spot early signs of issues. If leaks or strange noises occur, take action immediately. This can prevent bigger problems later.
Replace water filters according to the manufacturer’s guidelines. This ensures clean water and proper flow. If the dispenser is not working well, consult the manual or call a professional for help.
By following these maintenance tips, your water dispenser will work well for years. You will enjoy clean, safe water every day.
Benefits of Regular Maintenance
Regular upkeep of your water dispenser is more than just a chore. It leads to noticeable perks for both your health and the unit’s performance.
Health Benefits and Performance Improvements
Keeping a clean water dispenser helps safeguard your health. It reduces the risk of consuming waterborne pathogens. Clean units also perform better. They deliver water at the right temperature and flow smoothly.
A well-maintained dispenser has fewer blockages and malfunctions. Regular cleaning stops the growth of mold and bacteria. This keeps the taste and smell of your water fresh.
Extending the Life of Your Dispenser
Routine cleaning can extend your water dispenser’s lifespan. It prevents the early wear that dirt and grime cause. Clean components work less hard, reducing stress on the system. This means you won’t need repairs or replacements as often.
Staying on top of maintenance can save you money in the long run. It can also give you peace of mind, knowing your water is always safe to drink.
 Conclusion: Prioritizing Clean Water from a Clean Dispenser
In conclusion, diligently cleaning your water dispenser should not only be regarded as a chore but a prioritized practice for maintaining optimal health and hydration. The importance of preventing the buildup of bacteria and mold cannot be emphasized enough. By investing time and effort into a regular cleaning routine, you contribute to better health while enjoying fresh-tasting water.
Following the outlined steps and avoiding common pitfalls will enhance the longevity and performance of your dispenser. Remember, cleaning water dispenser is more than just a task; it’s an essential practice that paves the way for healthy living. Prioritize a cleaning schedule that fits your lifestyle, and you’ll reap the rewards of clean and safe drinking water.


