Introduction
Keeping your refrigerator in pristine condition is essential for both the longevity of the appliance and the quality of the food and beverages it stores. One of the most overlooked components in this maintenance is the water dispenser nozzle. Over time, sediment, mineral deposits, and bacteria can build up, leading to poor water flow and potentially contaminating your drinking water. In this comprehensive guide, we’ll examine the various steps to effectively clean your refrigerator water dispenser nozzle. Not only will we delve into the materials you’ll need and the method to follow but we’ll also cover some preventative measures that will help maintain cleanliness going forward.
Why You Should Clean the Water Dispenser Nozzle Regularly
Cleaning might seem like an additional chore, but it is a crucial aspect of refrigerator maintenance. When you ignore the water dispenser nozzle, it can accumulate grime and blockages that affect the flavor and quality of the water dispensed. Moreover, a dirty nozzle serves as a breeding ground for bacteria, which can introduce harmful pathogens into your drinking water.
Furthermore, many homeowners don’t realize that mineral deposits from hard water can accumulate over time. This not only affects the dispenser’s performance but can also lead to permanent damage if left unaddressed. Therefore, regular cleaning becomes imperative.
Essential Tools and Materials for the Cleaning Process
Before you embark on the cleaning journey, it’s important to gather all necessary tools and materials. Preparation makes the process smoother and more efficient. Here’s what you’ll need:
Basic Cleaning Supplies
- White vinegar: A natural disinfectant that cuts through mineral deposits.
- Baking soda: Excellent for scrubbing and neutralizing odors.
- Bottle brush or toothbrush: Ideal for reaching tight spots.
- Microfiber cloth or sponge: For wiping down surfaces.
- Warm water: To dilute cleaning solutions.
- Gloves: To protect your hands while cleaning.
Optional Supplies
- Toothpick or small pen: For clearing any blockages inside the nozzle.
- Spray bottle: For easier application of the cleaning solution.
- Bowl: To catch any water during the cleaning process.
By having these materials within arm’s reach, you will streamline the cleaning procedure and ensure that you can adequately address every area of the nozzle.
Step-by-Step Guide to Cleaning the Water Dispenser Nozzle
Now that you have everything you need, let’s walk through the process step by step. Each phase builds on the previous one, ensuring you achieve the best results.
Step 1: Disconnect the Power
Though it might seem minor, disconnecting the power to your refrigerator minimizes the risk of accidents while you clean. It safeguards both you and the appliance.
Step 2: Empty the Water Dispenser
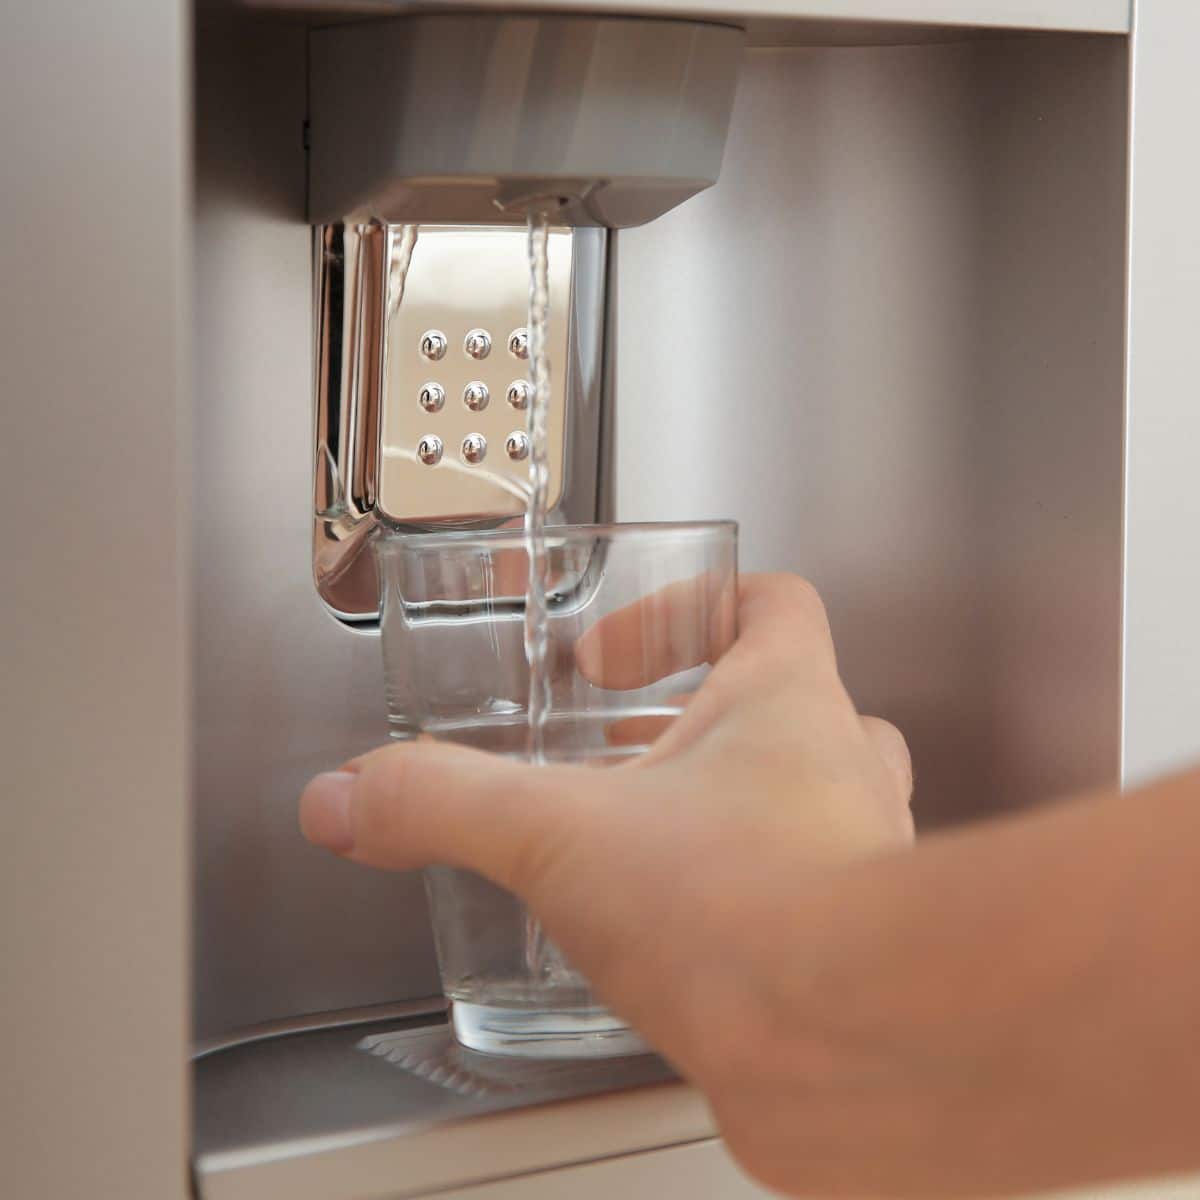
Start by running the water dispenser to remove any remaining water from the system. This step will not only reduce the mess but will also allow you to assess how much buildup may be present.
Step 3: Create Your Cleaning Solution
In a bowl, mix equal parts of white vinegar and warm water. Alternatively, you can mix warm water with a tablespoon of baking soda for a more scrubbing-friendly solution. If using a spray bottle, pour the vinegar mixture in for easier application.
Step 4: Apply the Solution
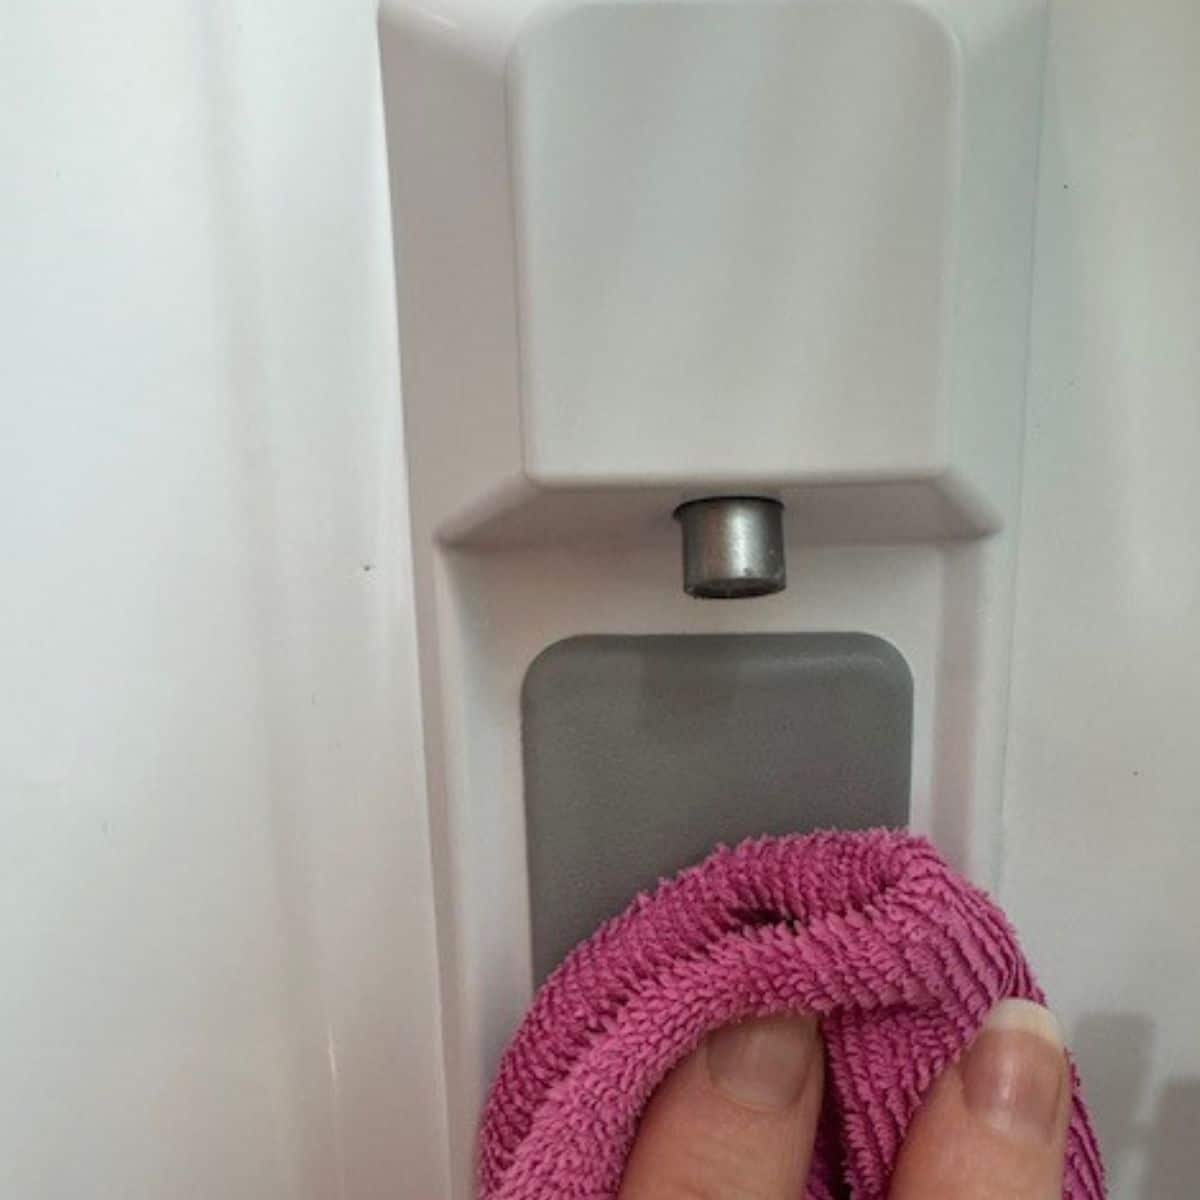
With your microfiber cloth or sponge, carefully apply the cleaning solution to the nozzle and surrounding areas. Make sure to cover every surface that has been exposed to water for effective cleaning. Given that some deposits may be stubborn, allow the solution to soak for a few minutes.
Step 5: Scrub the Nozzle
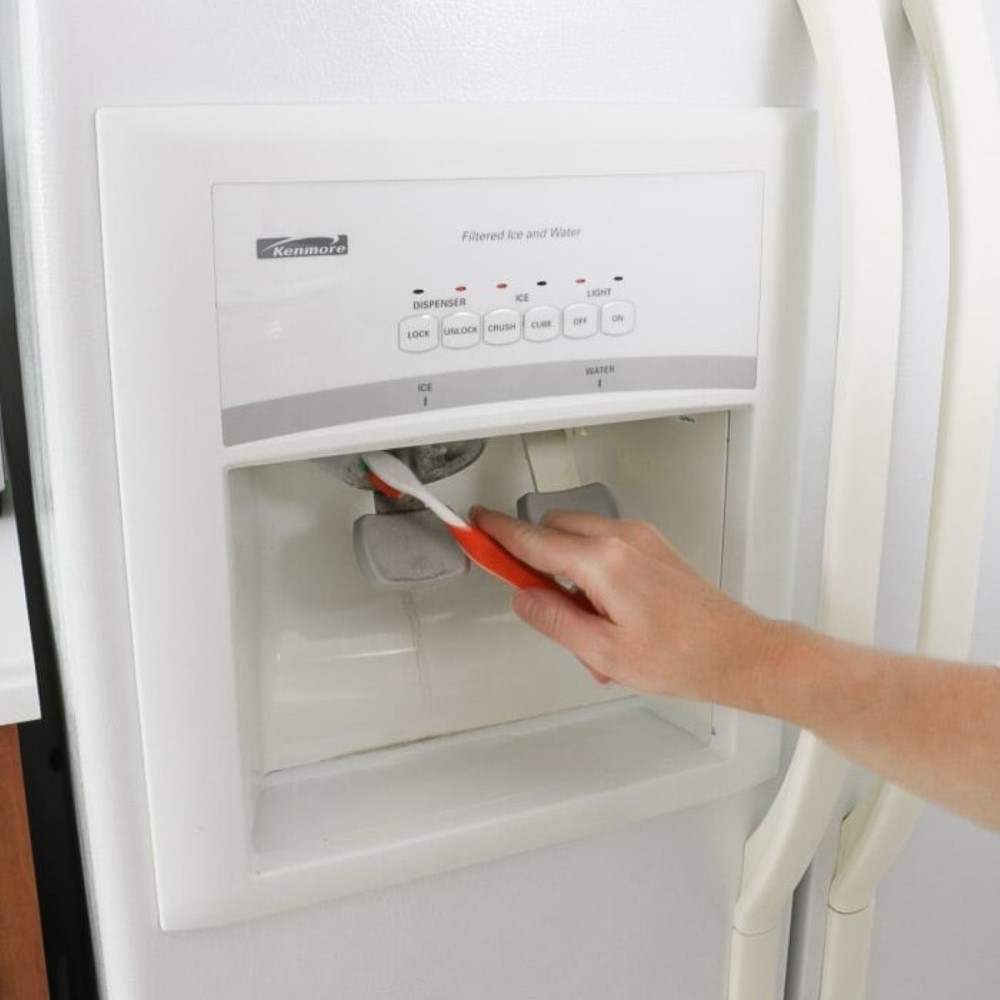
With your bottle brush or toothbrush, gently scrub the nozzle. Focus on any crevices or where you can see buildup. The combination of the baking soda or vinegar will help break down stubborn deposits. As you scrub, transition your brush from circular motions to a more linear approach to ensure you cover all the surfaces adequately.
Step 6: Clear Blockages
If you notice any significant blockages, use a toothpick or small pen to dislodge them gently. Be cautious to avoid damaging the nozzle. Once the larger pieces are cleared, give it a final scrub with the brush.
Step 7: Rinse Thoroughly
Once cleaning is complete, rinse the nozzle under warm running water. Be sure to wash away any residual cleaning solution to prevent it from entering your water supply. Rinsing is essential, as even a small amount of cleaning agent can affect the taste of your water.
Step 8: Dry the Nozzle
Using a clean microfiber cloth, dry the nozzle completely. It is important to eliminate any moisture to reduce the risk of mold or bacteria growth. Transition to ensuring that every crevice is dry by using different angles and surfaces of the cloth.
Step 9: Reconnect Everything
After ensuring everything is cleaned and dried properly, reconnect your refrigerator to the power supply. Allow some time for it to reach the optimal temperature before using the water dispenser again.
Step 10: Dispose of Cleaning Materials
Finally, dispose of any used materials properly. If you’ve used natural cleaning solutions, these can usually go down the sink, but always check local regulations for disposal. Dispose of any non-biodegradable items accordingly.
Preventative Measures for Future Cleaning
While cleaning your refrigerator water dispenser nozzle removes existing buildup, preventative measures can significantly reduce the frequency of future cleanings. Taking some simple steps will keep your appliance functioning optimally and improve the quality of your drinking water.
Regular Maintenance Schedule
Plan to clean the water dispenser nozzle every two to three months. Mark your calendar as a reminder. Sticking to a schedule makes it much easier to maintain cleanliness, as you won’t have to face a large accumulation of minerals or bacteria.
Use a Water Filter
Investing in a high-quality water filter can help reduce the sediment and minerals that reach your refrigerator. Filters can significantly reduce buildup in the nozzle and prolong its lifespan. Additionally, filtered water often tastes better, which enhances your overall water consumption experience.
Monitor Water Quality
It’s important to pay attention to the taste and appearance of the water you dispense. If you notice a change, it might be time for a deep clean, even if it hasn’t been the planned cleaning interval. Always trust your instincts regarding water safety.
Check for Leaks
Periodically inspect the area around the dispenser for any leaks. A leaky system can contribute to contaminant buildup and create a conducive environment for mold and bacteria. Address any leaks promptly to maintain the quality of your water.
Keep Surroundings Clean
Regularly cleaning around the refrigerator, including the exterior and interior shelves, will prevent particles and dust from being drawn into the nozzle. A clean environment contributes significantly to the quality of the water being dispensed.
 Conclusion: How to Clean Refrigerator Water Dispenser Nozzle
Cleaning your refrigerator water dispenser nozzle might initially seem like a daunting task, but it’s well worth the effort. By following the outlined steps and adhering to a regular maintenance schedule, you can ensure that your water dispenser functions optimally and that your drinking water remains clean and fresh.
Transitioning to a proactive cleaning and maintenance routine not only saves you time and effort in the long run but also protects your health. Remember that a clean nozzle is essential for the overall performance of your refrigerator. If you’ve been wondering how to clean refrigerator water dispenser nozzle, now you have a complete guide to ensure you do it efficiently and effectively.


