
Introduction
Printer heads play a critical role in producing high-quality prints. Over time, printer heads can become clogged or dirty, leading to streaks, smudges, or inconsistent printing. To maintain optimal print performance, it is essential to clean the printer heads regularly. In this comprehensive guide, we will explore the step-by-step process of cleaning the heads on your printer. By addressing necessary preparations, cleaning techniques, and safety precautions, we aim to help you restore print quality and prolong the lifespan of your printer.
How do I clean the heads on my printer?
I. Preparing for Printer Head Cleaning
-
Gather Cleaning Supplies:
- To clean the heads on your printer, you will need the following supplies: lint-free cloths or swabs, distilled or filtered water, isopropyl alcohol, and a container or tray to collect excess cleaning solution.
-
Ensure Printer Safety:
- Before starting the cleaning process, make sure the printer is turned off and unplugged from the power source. This prevents any potential electrical mishaps or injury during the cleaning procedure. It is generally not recommended to connect your printer to the computer or initiate any printing tasks while actively cleaning the printer head.
-
Consult Printer Manual or Manufacturer Guidelines:
- Review the printer’s manual or consult the manufacturer’s guidelines for specific instructions on cleaning the printer heads. Different printer models may have unique cleaning requirements that should be followed for optimal results.
II. Accessing the Printer Heads
-
Open Printer Cover:
- Locate and open the printer cover or access panel. This step is model-dependent, so refer to your printer’s manual for guidance if necessary. Ensure that the printer is in a safe and accessible location for the cleaning process.
-
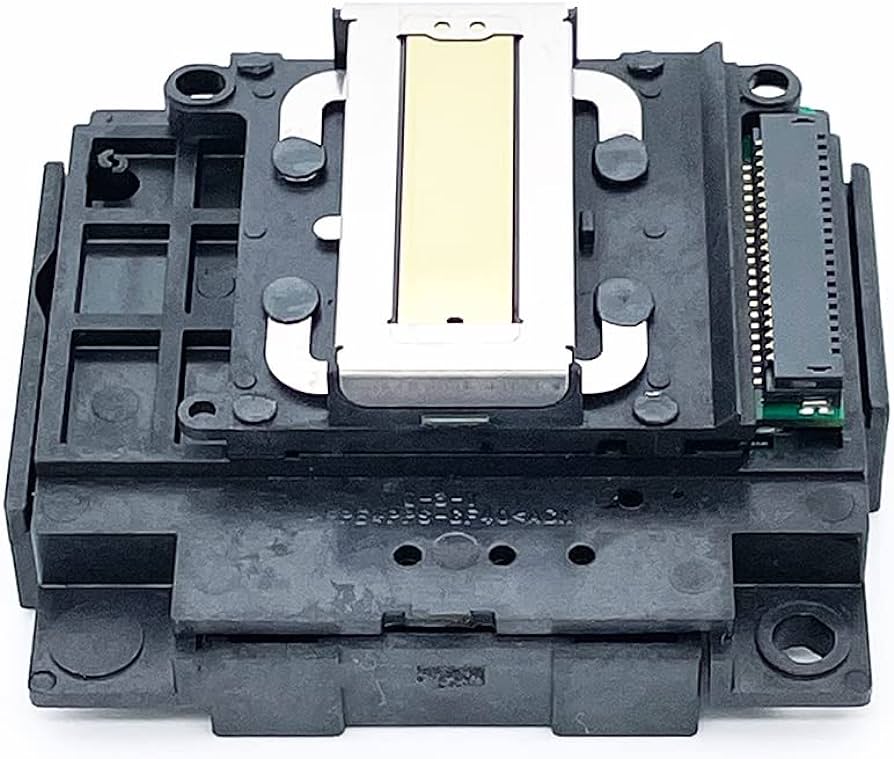
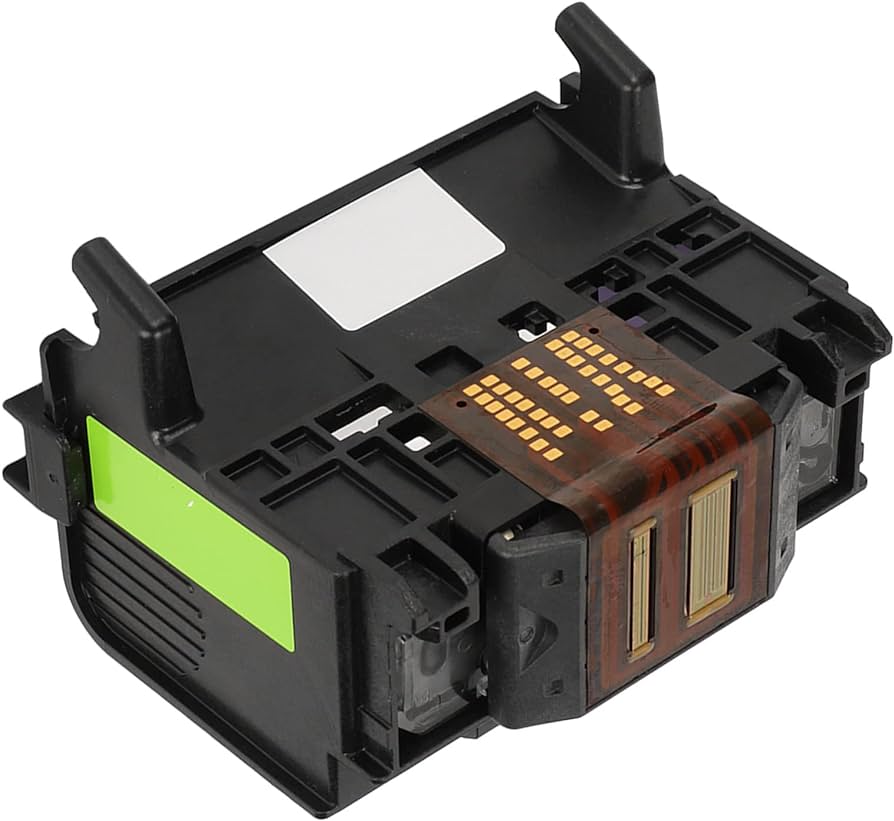
Locate Printer Heads:
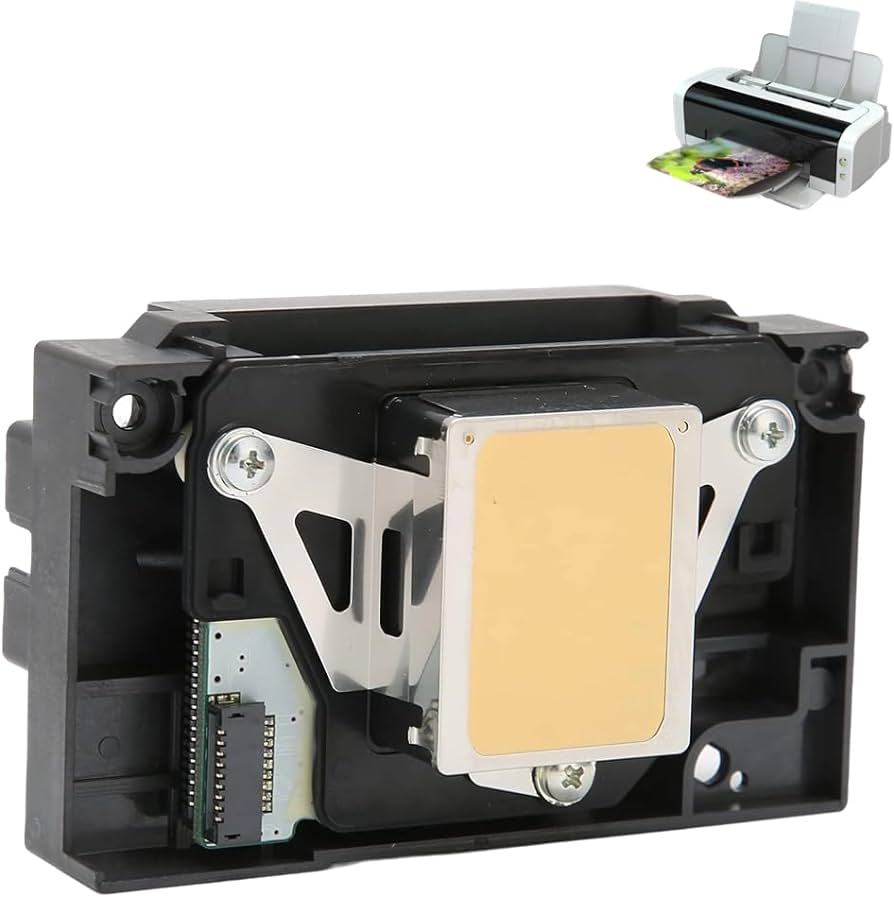
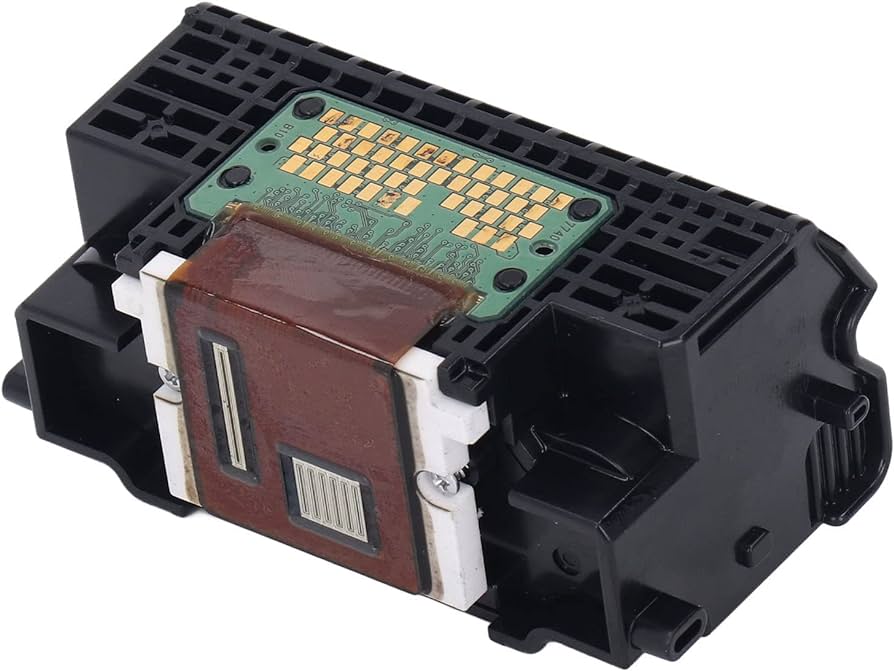
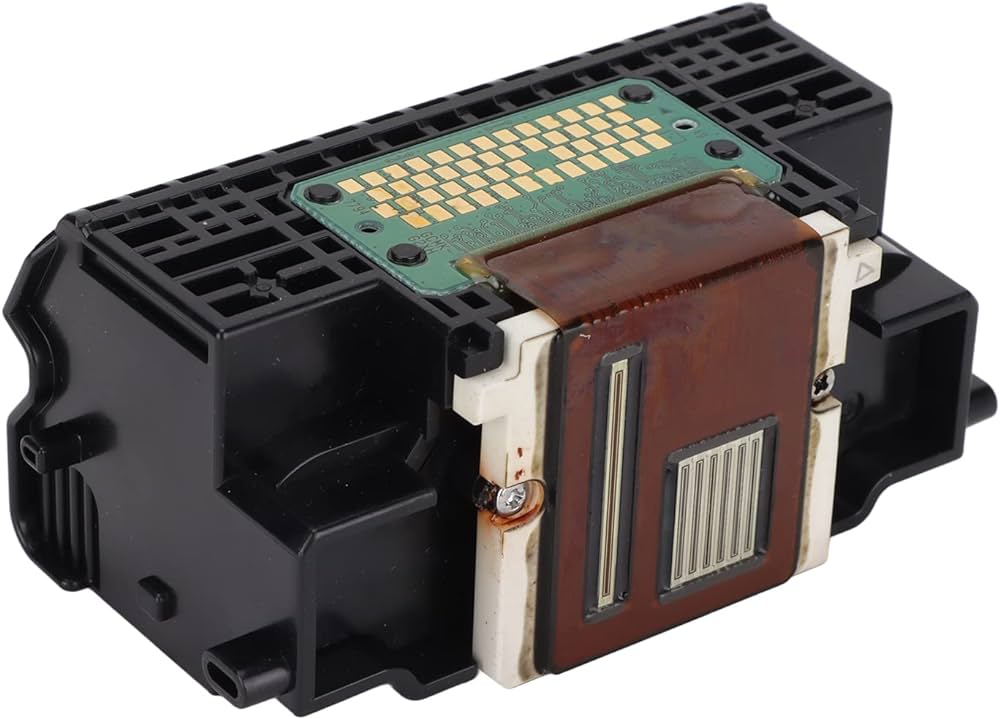
- Identify the printer heads, which are typically located near the ink cartridges. The heads may be labeled or color-coded according to each ink color. Take note of their position and any instructions provided in the printer manual.
III. Cleaning Techniques
-
Cleaning with Distilled or Filtered Water
a. Dampen a Lint-Free Cloth or Swab:
- Moisten a lint-free cloth or swab with distilled or filtered water. Ensure the cloth or swab is damp, not soaking wet, to avoid excess moisture on the printer heads.
b. Gently Wipe Printer Heads:
- Carefully wipe the printer heads in a gentle, sweeping motion. Start from one side and move to the other, ensuring complete coverage of the heads. Avoid applying excessive pressure to prevent damage to the delicate components.
c. Repeat as Needed:
- If the printer heads are heavily soiled or clogged, repeat the wiping process with the damp cloth or swab until noticeable dirt or debris is removed.
-
Cleaning with Isopropyl Alcohol
a. Create a Cleaning Solution:
- Mix a small amount of isopropyl alcohol with distilled or filtered water to create a cleaning solution. The recommended concentration is typically 70% isopropyl alcohol and 30% water. This solution helps dissolve stubborn ink deposits or residue on the printer heads.
b. Dampen a Lint-Free Cloth or Swab:
- Moisten a lint-free cloth or swab with the cleaning solution. Similar to the water method, ensure the cloth or swab is damp, not excessively wet.
c. Gently Wipe Printer Heads:
- Follow the same technique as with the water method, gently wiping the printer heads in a sweeping motion. Again, exercise caution to avoid applying excessive pressure.
d. Repeat as Needed:
- If the printer heads remain dirty or clogged after the initial cleaning, repeat the wiping process with the damp cloth or swab until the residue is effectively removed.
IV. Safety Considerations and Best Practices
-
Avoid Touching Other Components:
- While cleaning the printer heads, take care to avoid touching other internal components of the printer. Focusing solely on the heads minimizes the risk of accidental damage to sensitive parts.
-
Use Lint-Free Materials:
- To prevent lint particles from depositing onto the printer heads, use lint-free cloths or swabs. These materials are less likely to leave behind fibers that may further impede print quality.
-
Allow Sufficient Drying Time:
- After cleaning the printer heads, allow them to dry completely before closing the printer cover or attempting to print. This prevents the possibility of moisture-related issues, such as smudging or ink bleeding.
-
Perform Regular Maintenance:
- Incorporate regular printer maintenance, including head cleaning, into your routine. Regular cleaning helps to prevent excessive buildup and keeps your printer running smoothly.
V. Testing and Print Quality Assessment
-
Perform Test Prints:
- Once the printer heads have been cleaned and dried, perform a series of test prints to assess the print quality. Print documents or images that display a range of colors and patterns to evaluate if any streaks, smudges, or inconsistencies remain.
-
Observe Print Quality:
- Carefully examine the test prints for any remaining issues. If print quality problems persist, repeat the cleaning process or consult professional assistance if necessary.
-
Adjust Printer Settings (if needed):
- If minor print quality issues persist after cleaning the printer heads, consider adjusting printer settings, such as print density or quality modes, to improve the final results. Consult your printer’s manual or online resources for specific instructions on adjusting settings.
VI. Maintenance and Preventive Measures
-
Follow Ink Replacement Guidelines:
- Adhere to the manufacturer’s guidelines for replacing ink cartridges. Using genuine ink cartridges and replacing them in a timely manner can minimize potential print quality issues.
-
Store Printer Properly:
- When the printer is not in use, store it in a clean and dust-free environment. Keep it covered to prevent dust accumulation, which can lead to clogging or other print quality problems.
-
Regularly Update Printer Firmware:
- Check for and install firmware updates provided by the printer manufacturer. These updates often include performance enhancements and bug fixes that can improve print quality.
VII. Conclusion: Reviving Print Quality with Regular Cleaning
Cleaning the heads on your printer is essential for maintaining optimal print quality. By following the steps outlined above and using the appropriate cleaning techniques, you can effectively remove dirt, grime, and ink buildup from the printer heads, allowing for consistent and crisp prints.
Remember to refer to your printer manual for specific instructions and recommendations from the manufacturer. Implement regular maintenance practices, such as cleaning the printer heads, to keep your printer functioning at its best and extend its lifespan.
With regular cleaning and proper maintenance, you can enjoy clear, vibrant, and professional-quality prints, ensuring your printer remains a reliable tool for all your printing needs.