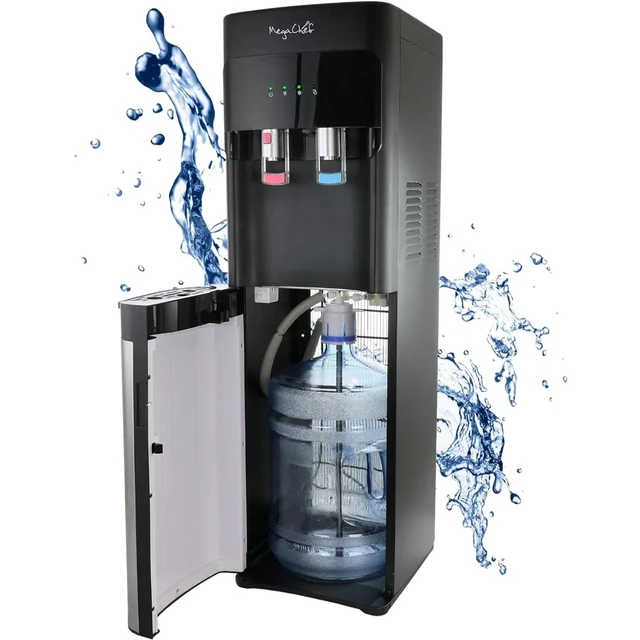
Introduction to Troubleshooting a Water Dispenser
When your water dispenser stops working, it’s a real inconvenience. Not having quick access to cold or hot water can disrupt your daily routine. Whether it’s installed in your home or office, understanding how to troubleshoot a non-functioning water dispenser is essential. This guide will walk you through common troubleshooting methods to solve various issues with your unit. We’ll tackle simple problems like checking the ice maker and water pressure, to more complex ones like faulty control panels and sensors. By following these steps, you’re well on your way to restoring your water dispenser’s functionality and ensuring you stay hydrated without the hassle. Let’s dive into these troubleshooting strategies and get your water flow back on track.

Common Issues When Water Dispensers Fail to Function
When your water dispenser stops, it’s often due to common, fixable issues. Let’s outline these problems and how to spot them.
No Water Coming Out
This could be because your water supply is low or the valve is closed. Always check the main water valve and ensure the dispenser is plugged in and powered.
Water Dispensing Slowly
A slow flow may indicate a clogged water filter or low water pressure. You might need to replace the filter or check the water supply for issues.
Leakage Around the Dispenser
Water leaks are usually from loose connections or cracks in the water bottle. Tighten connections and inspect the bottle for damage.
Water Is Not Chilled or Heated
Temperature issues could point to a faulty thermostat or malfunctioning heating/cooling elements. Review the settings and adjust as needed, or consider replacing these parts.
Unusual Taste or Smell in Water
An odd taste or smell often comes from a dirty water filter or the buildup of bacteria. Change the filter regularly and clean the dispenser.
Understanding these common problems helps in quick diagnosis and repair. Next, we will delve into a step-by-step guide for further troubleshooting.
Step-by-Step Guide: Checking the Ice Maker and Water Pressure
When facing a water dispenser not working correctly, your ice maker is a good starting point. Here are some steps to follow:
- Inspect Your Ice Maker: If your water dispenser is failing but the ice maker functions, the issue could be with water pressure.
- Evaluate Water Pressure Requirements: Your fridge may need a specific water pressure to operate both the ice maker and water dispenser properly. Check the user manual to find this information.
- Compare Ice and Water Functions: Is your ice maker also not working? This can point to a problem with the water line or the inlet valve. Slide out the fridge to check for kinks or leaks in the water line.
- Consult the Manual: Unsure of the required water pressure? Your refrigerator’s manual will have the details you need.
- Consider Professional Help: If both systems are not working and you see no issues with the water line, it might be time to call a professional.
Remember, safety first—shut off the main water valve and unplug the refrigerator before inspecting.
Replacing or Checking the Water Filter
If your water dispenser not working situation persists, the next step is to inspect the water filter. Water filters can get clogged with impurities over time, which can restrict water flow or impact the taste and quality of the water. Here’s how you can address the water filter issue:
- Locate Your Water Filter: Find your refrigerator’s water filter. It’s usually behind a panel in the fridge’s fresh food section or at the inside bottom of the door.
- Assess the Filter’s Condition: Look at the filter; if it’s been six months or more since the last change, or you notice visible dirt, it’s time for a new one. Always follow the user manual instructions for your specific model.
- Replace if Necessary: If you have identified the filter as the problem, proceed to replace it with a new one. Make sure to purchase a compatible filter for your fridge model.
- Test the Water Dispenser: After replacing the filter, try dispensing water again. If water flows normally, you’ve solved the issue.
- Use a Bypass Filter: Some fridges come with a bypass filter. Use this to check if the main filter is the cause of your troubles. If the water flows with the bypass filter, then your main filter was indeed the issue.
Regular maintenance of your water filter ensures not just the functionality of your water dispenser but also the quality of water you consume. Keep track of when it’s time to replace your filter to avoid future dispenser issues.
Inspecting and Thawing the Water Reservoir
Sometimes, the water dispenser not working is due to a frozen water reservoir. This reservoir could be inside the door or behind a panel in the refrigerator. Follow these steps to check and fix it.
- Locate the Water Reservoir: Find where the reservoir is in your fridge. You might need to consult the manual if it’s not obvious.
- Check for Ice: Feel around the reservoir. If it feels icy or very cold, it may be frozen.
- Thaw with Care: Use a hairdryer on low heat or a warm cloth to gently thaw the reservoir. Keep the heat source moving to avoid damaging any parts.
- Adjust Settings: Once thawed, set your refrigerator’s temperature higher to prevent future freezing. Check your manual to find the optimal temperature.
- Test Your Water Dispenser: After the reservoir thaws and the temperature is adjusted, try using your water dispenser again.
If these steps don’t resolve the issue, it may be worth defrosting your entire fridge or seeking professional help.
Addressing Faulty Micro Switches in the Dispenser
When your water dispenser struggle, a faulty micro switch might be to blame. This small component detects when you press the dispenser lever. A click sound followed by the water flow indicates a functioning micro switch. If pressing the lever yields silence, you should consider the micro switch as a possible culprit. Let’s handle this issue with a clear, step-wise approach.
- Identify the Problem: Press your cup against the lever. No click or water flow suggests a micro switch problem.
- Safeguard First: Unplug your refrigerator before you check the micro switch. This will prevent any electrical shock.
- Access the Switch: The micro switch is often found under the lever. Use your manual to locate it accurately.
- Inspect the Switch: Look for signs of damage or loose connections. Sometimes, it’s just a simple fix.
- Test the Switch: If possible, use a multimeter to check the switch’s functionality. A lack of continuity signals a non-working switch.
- Replace if Needed: When a faulty switch is confirmed, replace it. Ensure you get the right part for your model.
- Seek Help When Unsure: If you’re not comfortable with these steps, call a professional. They can replace the micro switch safely and quickly.
By paying attention to the micro switch, you might fix a non-functioning water dispenser with ease. Remember to disconnect power before checking electrical components. Safety is the top priority. Checking the micro switch could restore your dispenser’s function and get water flowing again.
 Diagnosing Problems with the Control Panel
When your water dispenser’s control panel malfunctions, it can affect the entire unit. Here’s how to diagnose and potentially solve control panel issues:
- Test Functionality: Press each button on the control panel. Every button should respond. If not, note which ones are unresponsive.
- Check for Lock Mode: Many dispensers have a lock mode to prevent unintended use. Ensure this feature isn’t activated.
- Inspect for Visible Damage: Look for signs of wear or damage on the panel. Cracks or loose buttons can cause issues.
- Clean the Panel: Sometimes, dirt or spills may block button function. Gently clean the panel with a soft, damp cloth.
- Consult the Manual: Your refrigerator’s manual might have specific troubleshooting tips for the control panel.
- Seek Professional Help: If basic checks don’t restore functionality, call a technician. They can offer a detailed diagnosis and repair.
Regular checks and maintenance can prevent control panel problems and keep your dispenser running smoothly.
Ensuring Proper Door Sensor Operation
Ensuring your water dispenser functions correctly often hinges on proper door sensor operation. These sensors ensure that water only dispenses when the refrigerator door is properly closed, promoting energy efficiency and safety.
Identify Sensor Type
Identify whether your model uses a physical button or a magnetic sensor. Older models typically feature a physical button, while newer ones use magnetic sensors.
Test Sensor Functionality
Engage the sensor by simulating a closed door. Use a magnet or press the button (depending on your model). This should activate the dispenser.
Check for Obstructions or Damage
Look for any obstructions that might prevent the sensor from recognizing a closed door. Remove any objects in the way. Also, inspect for any visible damage to the sensor or its surroundings.
Clean the Sensor Area
Dirt or debris can interfere with sensor operation. Clean the area gently but thoroughly with a soft cloth.
Reset or Replace if Necessary
If your dispenser still doesn’t work, consider resetting your refrigerator settings. If issues persist, the sensor might need replacing.
Maintaining the door sensor in good working order is crucial to ensure your water dispenser functions properly. Address any issues with the sensor promptly to restore full functionality to your unit.
Advanced Troubleshooting: When Simple Fixes Don?t Work
Sometimes, basic troubleshooting steps don’t resolve water dispenser issues. In such cases, advanced diagnostic measures are necessary. These steps help pinpoint the root cause when simple fixes, like checking filters or sensors, prove inadequate.
- Inspect Electrical Connections: Check all electrical connections related to the dispenser. Loose or corroded connections can impede function.
- Use Diagnostic Modes: Modern refrigerators often have diagnostic modes. Consult your manual to activate this mode and identify error codes.
- Examine Circuit Boards: Look at the circuit boards for signs of damage or burns. These control many of the refrigerator’s functions, including the dispenser.
- Check Water Supply Lines: Besides the internal lines, verify that external supply lines are not blocked or kinked.
- Test Components with a Multimeter: Use a multimeter to test the continuity of dispenser components like switches and valves. Replace parts that don’t show continuity.
If these steps don’t work, it may be time to consult a professional repair service. They have the tools and expertise to handle complex issues with your water dispenser not working.
 Conclusion: Keeping Your Water Dispenser Running Smoothly
In conclusion, a water dispenser not working can cause frustration. To keep it running well, regularly check and maintain the unit. If you face issues, follow the steps discussed. Inspect the ice maker and water pressure first. Then, check and possibly replace the water filter. Thaw a frozen reservoir if needed. Look at micro switches and control panels for faults. Ensure the door sensor works right. For complex problems, don’t hesitate to call a pro. With care, your water dispenser should serve you well for a long time.
